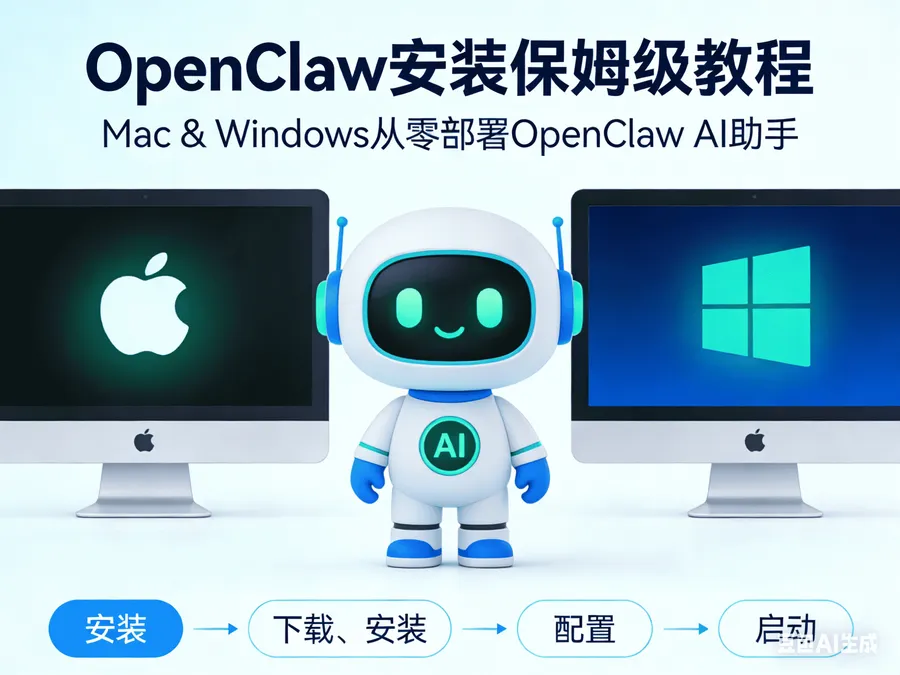
OpenClaw Installation Guide: Step-by-Step Setup for Mac and Windows
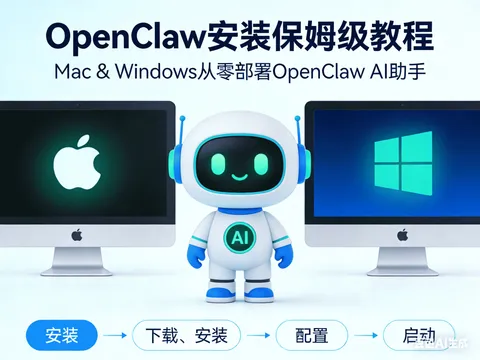
A beginner-friendly guide to installing OpenClaw on Mac and Windows. One command for Mac, WSL2 or PowerShell for Windows. Covers API setup, Telegram/Feishu integration, and common troubleshooting.
Published 209 days ago. Content may be outdated.
When I first heard the name OpenClaw, I honestly thought it was some kind of game. Turns out it’s actually a pretty powerful AI automation platform — it lets you hook up all sorts of AI models (DeepSeek, Kimi, Claude, you name it) and connect them directly to chat tools like Telegram and Feishu. Basically, you get to build yourself an AI assistant that’s always on call.
In this article, I’ll walk you through getting OpenClaw up and running. Both Mac and Windows users are covered, so just follow along.
Before We Start
Which OS Should You Use?
| OS | Recommendation | Notes |
|---|---|---|
| Mac | Highly recommended | Best experience — native access to Calendar, Notes, Screenshots, etc. |
| Windows | Fully supported | WSL2 recommended for a near-Mac experience |
| Linux | For tinkerers | If you’re a Linux user, you probably don’t need me to tell you what to do |
Bottom line: Use Mac if you have one. Windows works perfectly fine too.
Which Chat Tool?
- International users: Telegram is your best bet — strongest Bot ecosystem, most features
- China-based users: Feishu (Lark) is the way to go — solid API, stable messaging, generous free tier
WeChat Work, DingTalk, and QQ are also supported, just a bit more hassle to configure.
Hardware Requirements
Don’t worry, OpenClaw itself is lightweight — all the AI heavy lifting happens in the cloud:
- CPU: Anything reasonable
- RAM: 8GB minimum (16GB recommended)
- Storage: 10GB free space
- Network: Internet access (you’ll be calling APIs after all)
Mac Installation
Installing OpenClaw on Mac is the easiest — basically one command and you’re done.
Step 1: Open Terminal
Press Command + Space, type Terminal, hit Enter. There you go.
iTerm2 or any other third-party terminal works just as well.
Step 2: One-Command Install
Paste this into your terminal and hit Enter:
curl -fsSL https://openclaw.ai/install.sh | bashThis script will automatically:
- Detect your system environment
- Install Node.js (if you don’t have it)
- Download OpenClaw
- Set up environment variables
The whole thing takes about 2-5 minutes. Go grab a coffee.
Step 3: Verify Installation
openclaw --versionIf you see a version number (like 2026.2.9), you’re all set.
Step 4: Initial Configuration
This is the main event. Run the setup wizard:
openclaw onboardThe wizard will walk you through the following:
1. Accept risk notice — Select Yes and move on.
2. Choose startup mode — Pick QuickStart. Keeps things simple.
3. Choose AI model — Here’s the key part:
If you just want to get started quickly, pick qwen! It’ll automatically redirect you to Qwen’s login page — just authorize and you’re done. No API key needed. This is the easiest path for anyone who wants to start using OpenClaw right away.
One caveat though: Qwen’s free tier has a daily question limit. Once you hit it, the bot will let you know. If you find yourself using it a lot, consider setting up your own API key later.
If you’d rather bring your own API key, here are some solid options:
| Model | Strength | Best For |
|---|---|---|
| DeepSeek | Best value, strong reasoning | Daily chat, code generation |
| Kimi | 2M character context window | Long document analysis |
| GLM-4 | Great Chinese understanding | Chinese content creation |
| Claude | Top-tier reasoning | Complex tasks, coding |
| GPT | Well-rounded | General purpose |
Heads up: No matter which platform you choose, AI conversations consume tokens — the more you chat, the more you pay. Especially for long texts, file uploads, and analysis tasks, token usage adds up fast. Keep an eye on your usage so you don’t get a surprise bill at the end of the month.
4. Enter API Key (skip this if you chose Qwen) — Go to the model provider’s website, create an API key, and paste it in.
5. Choose chat tool — Feishu, Telegram, or None to skip for now (you can always set it up later).
6. Gateway port — Default 18789 is fine, just hit Enter.
7. Select Skills — Use spacebar to toggle the skill packs you want. Not sure? Just skip.
8. Enable Hooks — Recommended. Used for content guidance, logging, and session recording.
Once the configuration is done, OpenClaw will automatically start the Gateway service.
Step 5: Verify It’s Running
openclaw channels statusIf you see Gateway reachable., everything’s working.
Open your browser and go to http://127.0.0.1:18789/chat — you should see the web chat interface.
Everyday Commands
       # Start the service
openclaw gateway start

# Enable auto-start on boot (recommended)
openclaw gateway enable

# Stop the service
openclaw gateway stop

# Update OpenClaw
openclaw update
Windows Installation
There are two ways to install OpenClaw on Windows. I’ll cover both — pick whichever fits your situation.
Option 1: WSL2 + Ubuntu (Recommended)
This is the officially recommended approach. In plain terms, you run a Linux environment inside Windows, and the experience is basically the same as Mac/Linux.
Step 1: Enable WSL2
Open PowerShell as Administrator (right-click Start menu → Windows PowerShell (Admin)), then run:
       dism.exe /online /enable-feature /featurename:Microsoft-Windows-Subsystem-Linux /all /norestart
dism.exe /online /enable-feature /featurename:VirtualMachinePlatform /all /norestart
wsl --set-default-version 2
After that, restart your computer. Don’t skip this.
Step 2: Install Ubuntu
- Open Microsoft Store
- Search for
Ubuntu 22.04 LTS(or24.04 LTS) - Click “Get” and install
- On first launch, set a username and password (this is for the Linux side, pick whatever you want)
Step 3: Update System and Install Dependencies
In the Ubuntu terminal:
       sudo apt update && sudo apt upgrade -y
sudo apt install -y curl git wget build-essential
Step 4: Install Node.js
       curl -fsSL https://deb.nodesource.com/setup_22.x | sudo -E bash -
sudo apt install -y nodejs
Verify:
       node -v   # Should show v22.x.x
npm -v
Step 5: Install OpenClaw
curl -fsSL https://openclaw.ai/install.sh | bashStep 6: Verify Installation
openclaw --versionStep 7: Access from Windows
OpenClaw runs inside WSL2, but your Windows browser can access it directly. Start it in the WSL2 terminal:
openclaw gateway run --port 18789Then open http://localhost:18789 in your Windows browser. That’s it.
For convenience, you can create a start-openclaw.bat file on your desktop:
       @echo off
echo Starting OpenClaw Gateway in WSL2...
wsl -d Ubuntu-22.04 -u root service openclaw start
timeout /t 3
start http://localhost:18789
Double-click to launch. Easy.
Option 2: Native PowerShell Install
Don’t want to mess with WSL2? Fair enough. You can install directly on Windows.
Step 1: Install Node.js
Go to the Node.js website and download the 22.x LTS Windows installer. Click through the setup.
Make sure to check “Automatically install the necessary tools” during installation.
Step 2: Verify Node.js
Open PowerShell:
       node -v
npm -v
Both should output version numbers.
Step 3: Install OpenClaw
Open PowerShell as Administrator, then run:
npm install -g openclaw@latestStep 4: Fix Permission Issues (If Any)
If you get permission errors, try these:
       # Allow script execution
Set-ExecutionPolicy -ExecutionPolicy RemoteSigned -Scope CurrentUser

# Change npm directory (avoids permission conflicts)
npm config set prefix "C:\npm"
npm config set cache "C:\npm-cache"

# Add the new directory to PATH
[Environment]::SetEnvironmentVariable("Path", $env:Path + ";C:\npm", "User")
Open a new PowerShell window after making these changes.
Step 5: Verify and Initialize
       openclaw --version
openclaw onboard --install-daemon
The configuration wizard is the same as the Mac section — just follow along.
Windows Troubleshooting
sharp module failed to load?
       npm cache clean --force
npm install -g openclaw@latest --force
Windows Defender blocking it?
Add these paths to Defender’s exclusion list:
C:\Users\YourUsername\AppData\Roaming\npmC:\Users\YourUsername\.openclaw
How to Configure AI Models
OpenClaw doesn’t include a built-in AI model — you need to connect one.
Zero-Config Option: Pick Qwen (Best for Beginners)
As mentioned above, just select qwen in the setup wizard, log in and authorize, and you’re good to go. No API key fiddling required.
The downside is there’s a daily free question limit. If you outgrow it, switch to a self-configured key below.
Self-Configured API Key (Recommended for Long-Term Use)
For a more stable, unlimited experience, get your own API key:
DeepSeek (Best Value)
- Sign up at DeepSeek Platform
- Create an API key
- Select DeepSeek in the OpenClaw wizard and paste your key
Pricing is about 0.001 CNY / 1K tokens. Actual cost depends on your usage.
Kimi (Best for Long Documents)
- Sign up at Moonshot AI Platform
- Create an API key
- Same configuration process
GLM-4 (Best for Chinese)
- Sign up at Zhipu AI Platform
- Create an API key
- Same configuration process
If you already have a Claude or GPT key, those work too — just select the right provider in the wizard.
Reminder: Regardless of which model you use, AI conversations are billed by token. Longer chats, file uploads, and larger contexts all consume more tokens. Check your usage dashboard regularly so you know where you stand.
Connecting Chat Tools
Once OpenClaw is installed, connecting a chat tool is what makes it truly useful.
Feishu, Telegram, WeChat Work, QQ — each platform has different setup steps and permission requirements. The good news is the official docs have all platforms covered with detailed steps and permission lists:
Official Channel Configuration Docs: https://docs.openclaw.ai/zh-CN/channels
Click on your platform to find step-by-step setup guides, permission checklists, callback URL configuration, and more.
Here’s a quick overview so you know what to expect:
Telegram (Recommended for International Users)
       # Find @BotFather on Telegram, send /newbot to create a bot
# Once you have the Bot Token:

openclaw channels add telegram
openclaw config set channels.telegram.botToken "your-bot-token"
openclaw gateway restart
Feishu / Lark (Recommended for China)
General flow: Create an app on the Feishu Open Platform → Configure event subscriptions → Enable permissions (the official docs list all required ones — don’t miss any) → Bind it in OpenClaw.
       # Install Feishu plugin
openclaw plugins install @m1heng-clawd/feishu

# Configure (replace with your own App ID and Secret)
openclaw config set channels.feishu '{"enabled":true,"appId":"cli_xxx","appSecret":"xxx"}' --json
For details on getting your App ID and which permissions to enable, check the official docs under the Feishu section.
Other Platforms
WeChat Work, DingTalk, QQ, and more are all documented in the official channel docs.
Summary
| Scenario | Recommended Approach |
|---|---|
| Have a Mac | Local install — one command, done |
| Windows user | WSL2 + Ubuntu — near-native experience |
| Don’t want WSL | Native PowerShell install — works fine |
| Need 24/7 uptime | Consider cloud deployment |
All in all, setting up OpenClaw isn’t complicated. The core flow is just three steps: Install → Run the wizard → Configure AI model. Everything else is optional based on your needs.
If you run into issues, check the OpenClaw docs or ask in the community.
Happy building.
More Articles